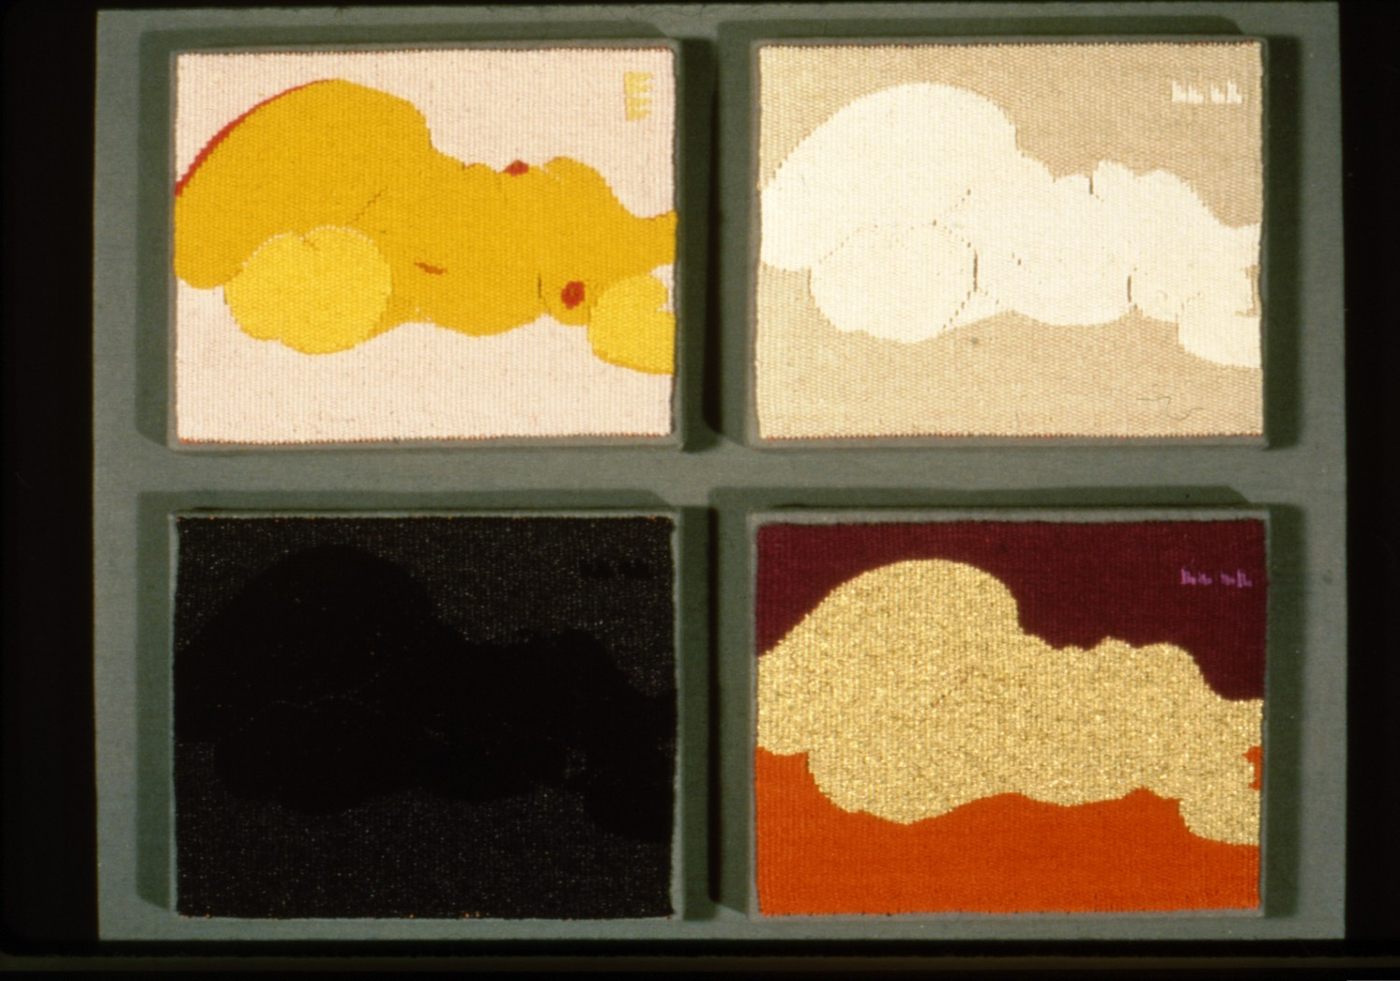
Today with many artist/weavers producing smaller, domestic sized tapestries for the wall, presentation has become an important issue. Larger pieces that “hang” well can be suspended from a batten or velcro strip attached to the wall. But miniature and in-between-sized works that look awkward in a picture frame and cannot hang on their own, what can be done? Developing a presentation specific to each tapestry can be as important as the work itself.
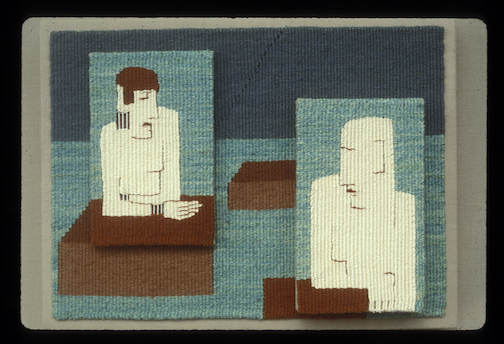
“Four Nudes,” Four tapestries, each 6″ x 7.5.” Each tapestry is mounted on a separate frame and then secured to the back mount.
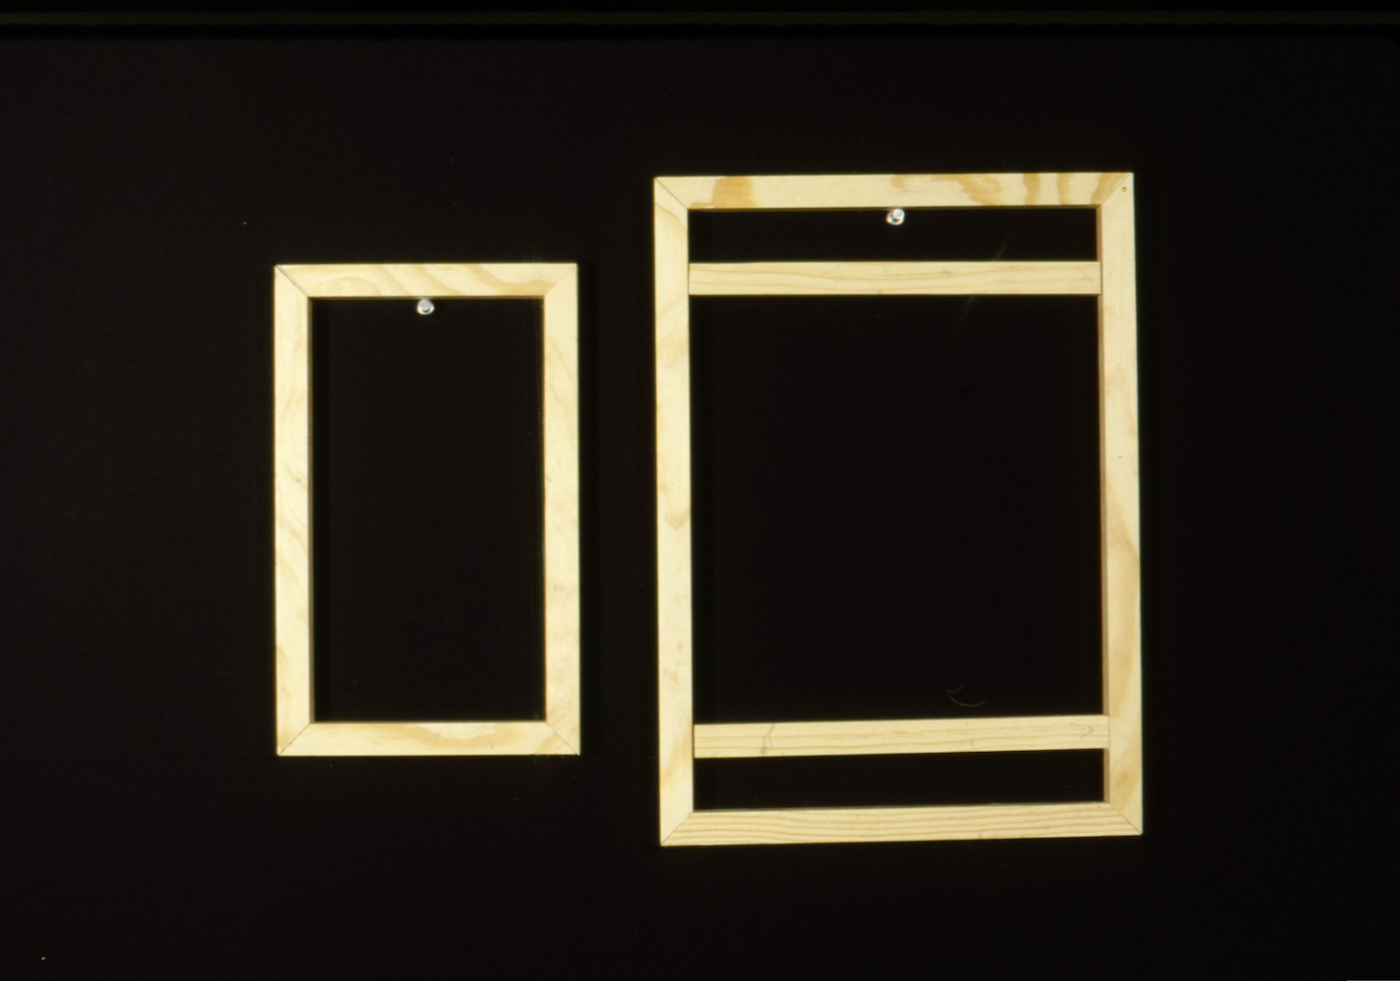
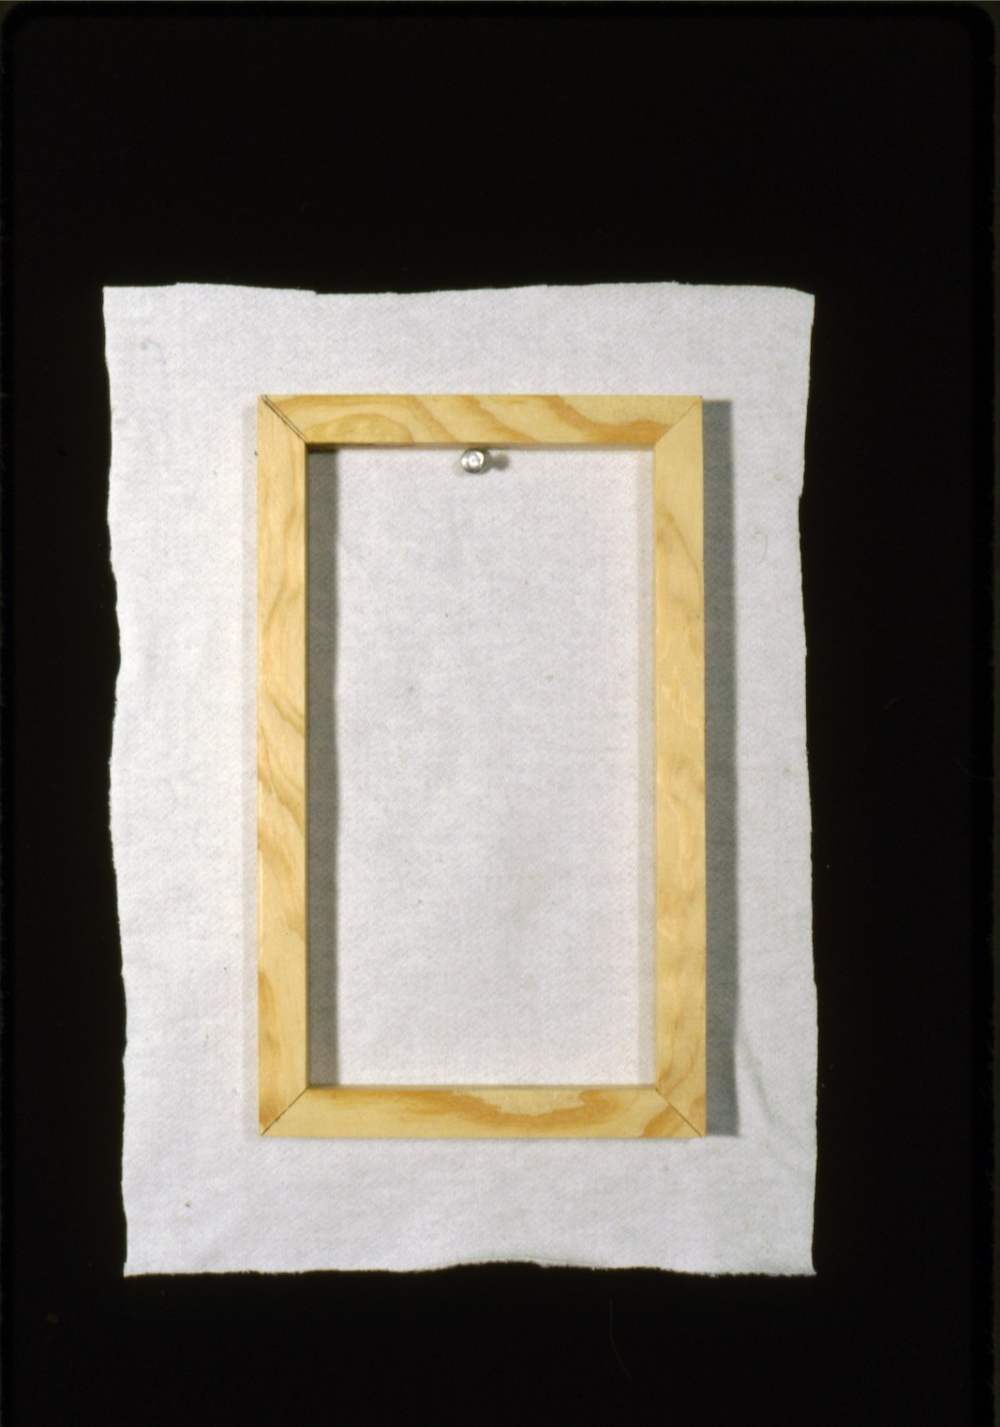
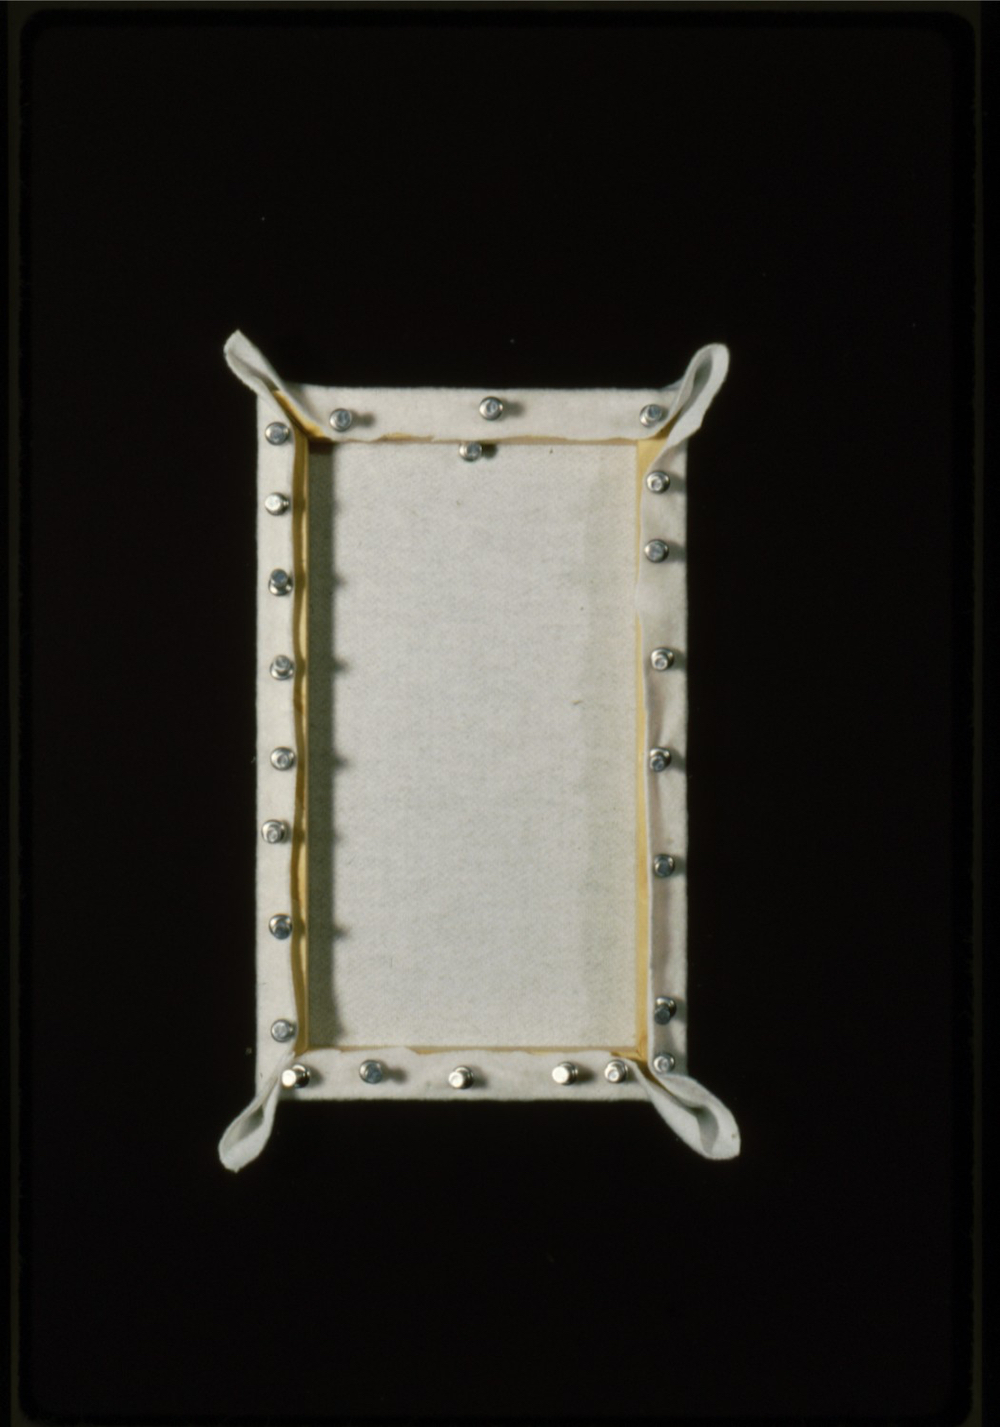
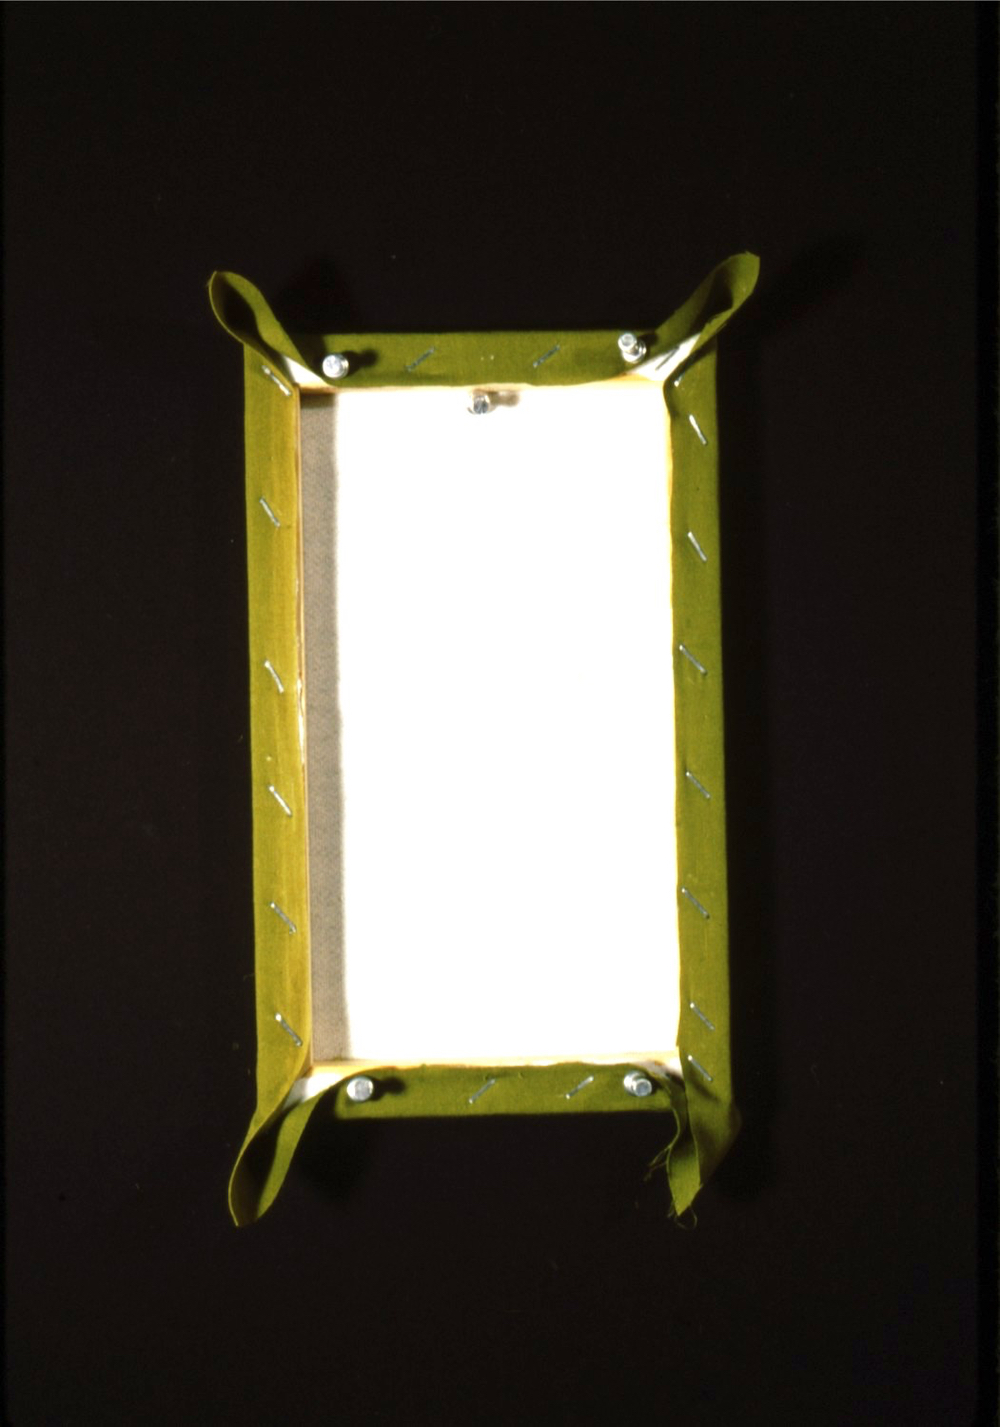
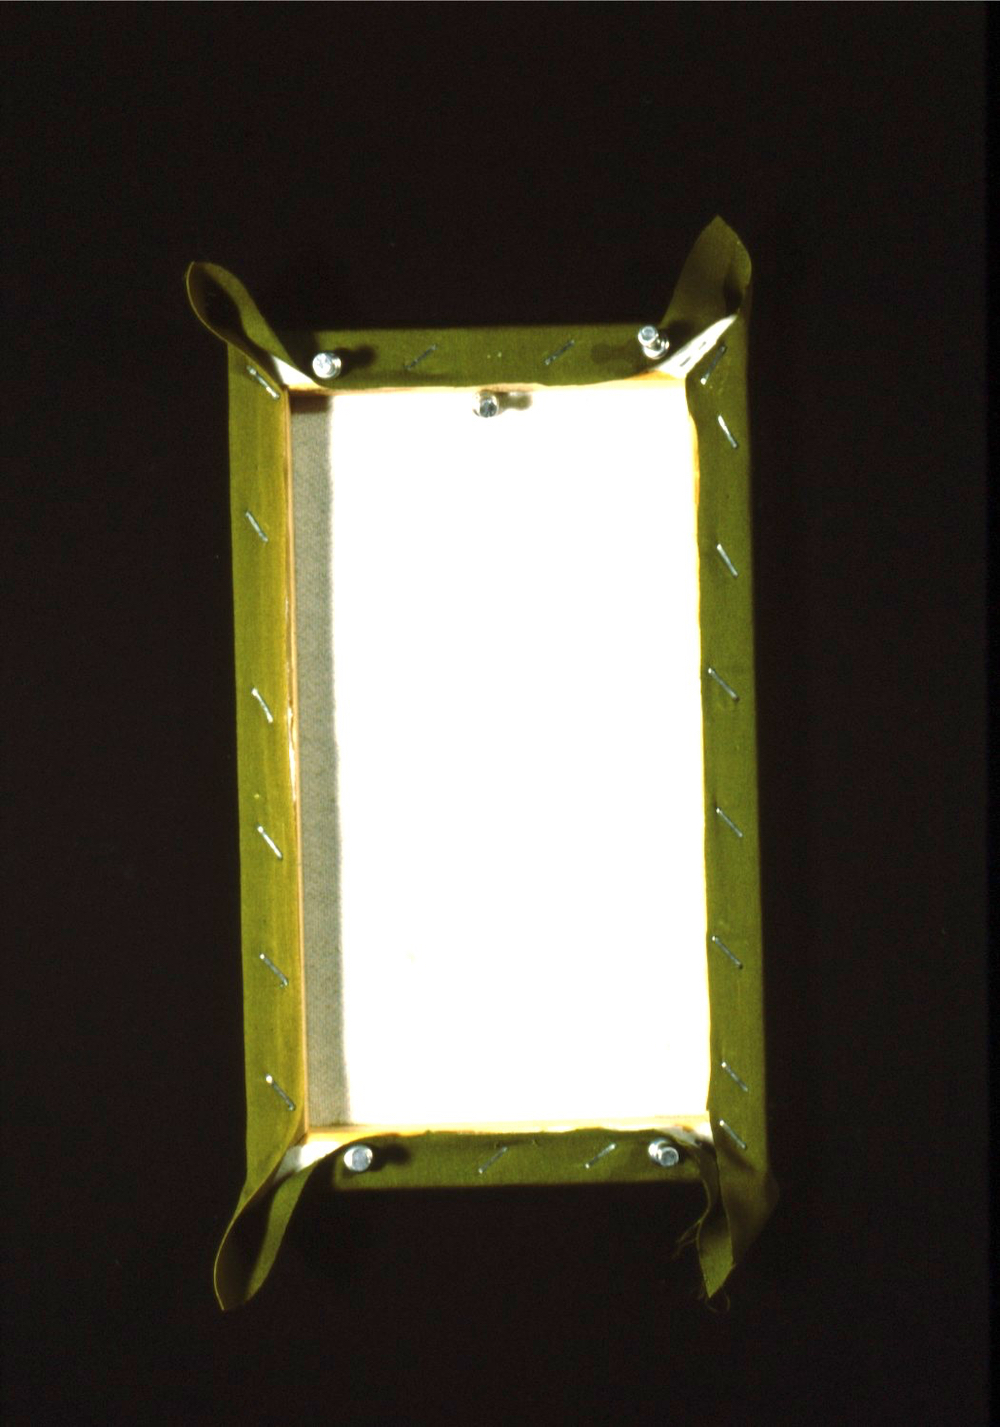
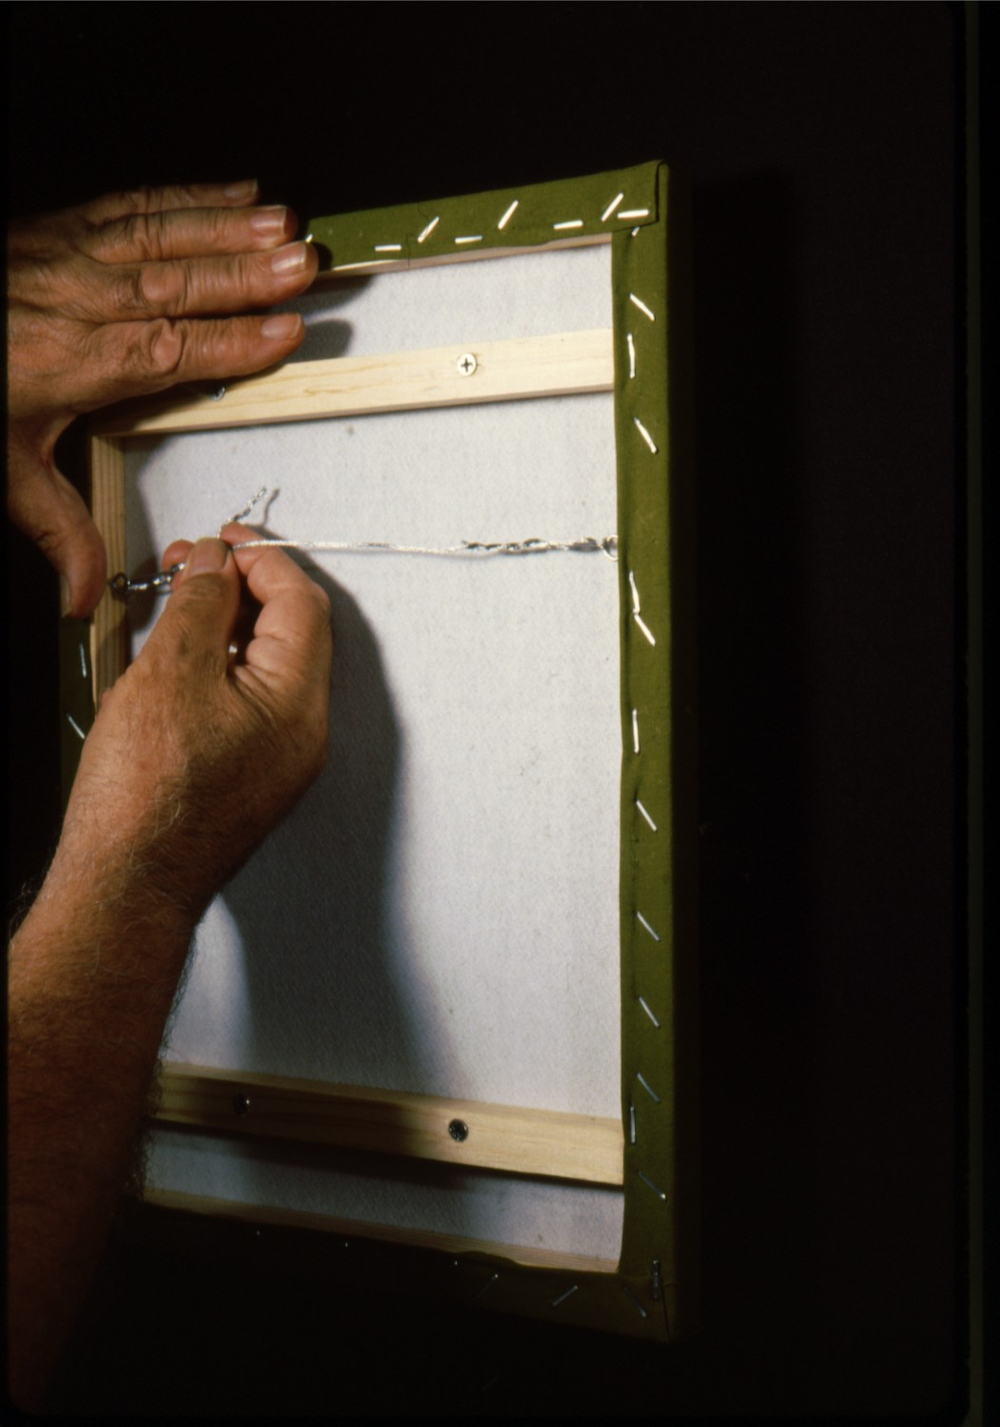
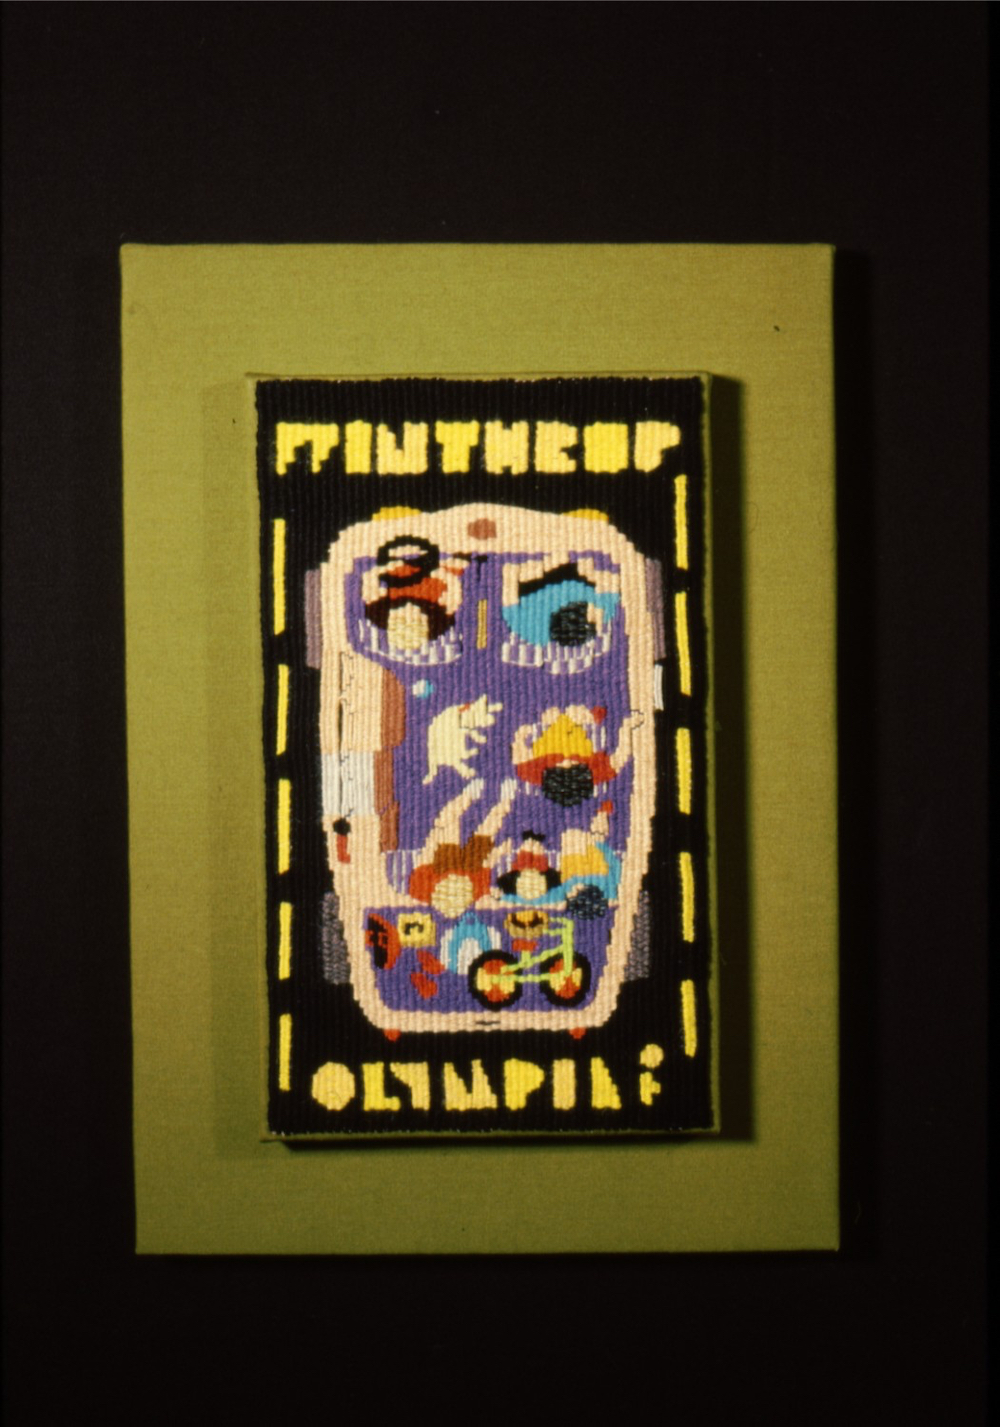
One possible starting place is to address the need to isolate the work from the wall by bringing it forward. Sewing the tapestry to a stretcher frame (similar to those used for stretching canvas in painting) covered in fabric, or a block of properly sealed wood or other sturdy material covered in fabric can accomplish this. Putting a layer of cotton flannel between the fabric and the stretcher bars allows for easier sewing. Sometimes a second larger stretcher also covered with fabric can be added behind the first to isolate the work even further by creating shadows and giving the tapestry another platform to hang from, its own small wall if you like. This allows the small tapestry to fill its own space like a mural tapestry fills its wall, in this way emphasizing the interesting relationship between miniature and mural. Murals because of their size encompass you, miniatures because of their intimate nature pull you into their space and affect the viewer in a similar manner.
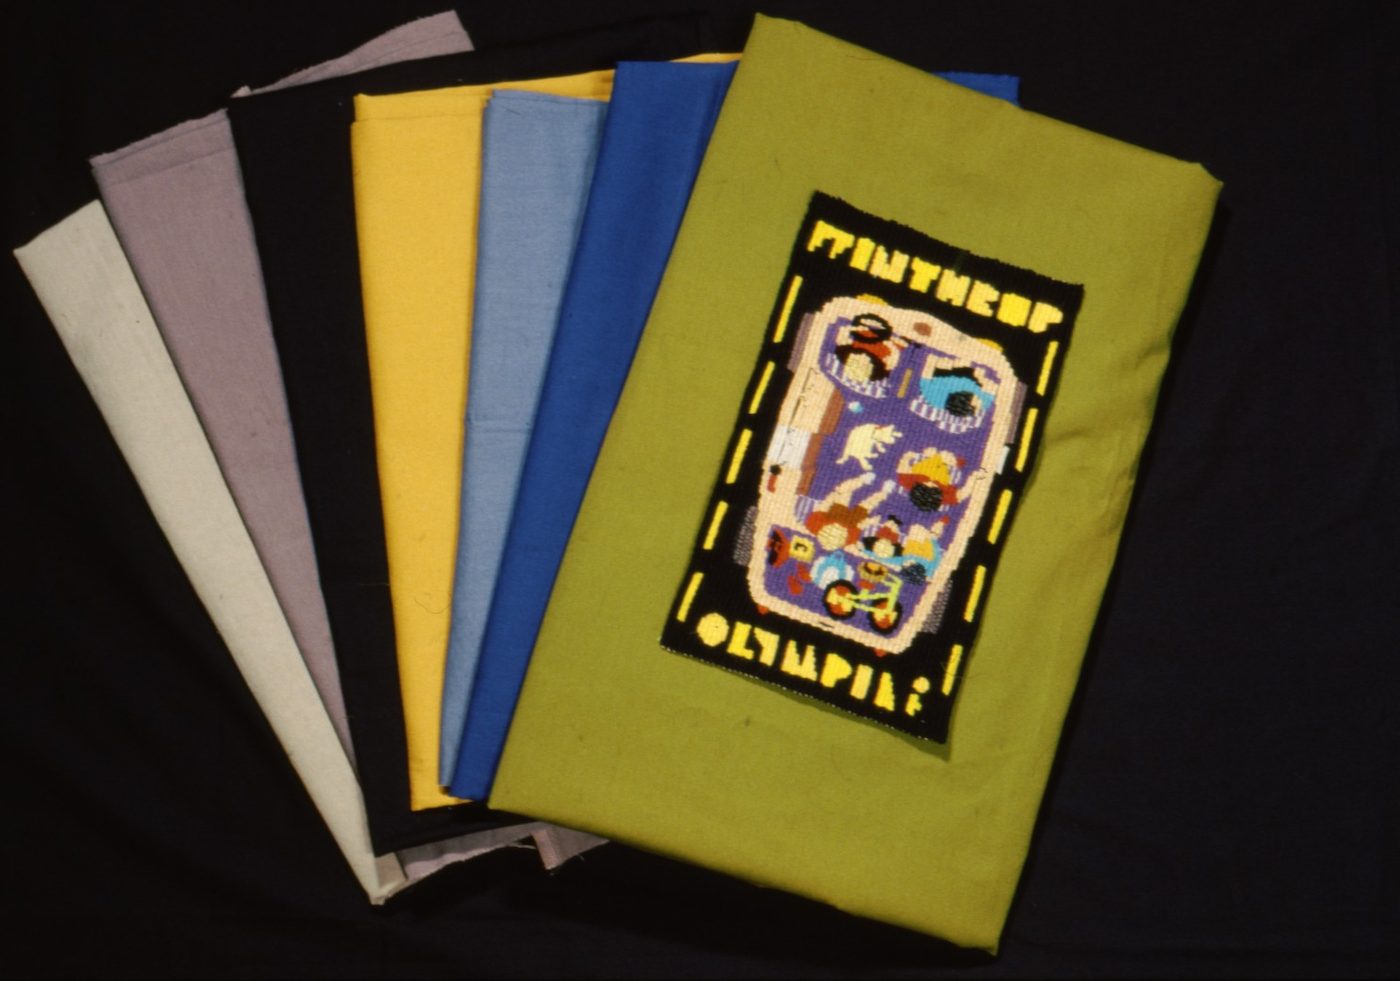
In choosing fabric, color and texture can be difficult decisions. Should it compliment, enhance or be strictly neutral? Should it be coarse, textured or smoothly woven? Plain or patterned? How big should the mount be compared to the tapestry, a 1” border vs. a 4’” border? Each piece demands a separate evaluation. If desired, work mounted in this way can then be placed in a deep or shallow Plexiglas box which adds an element of protection with little or no maintenance, although many prefer the intimacy afforded with nothing between the eye and the work.
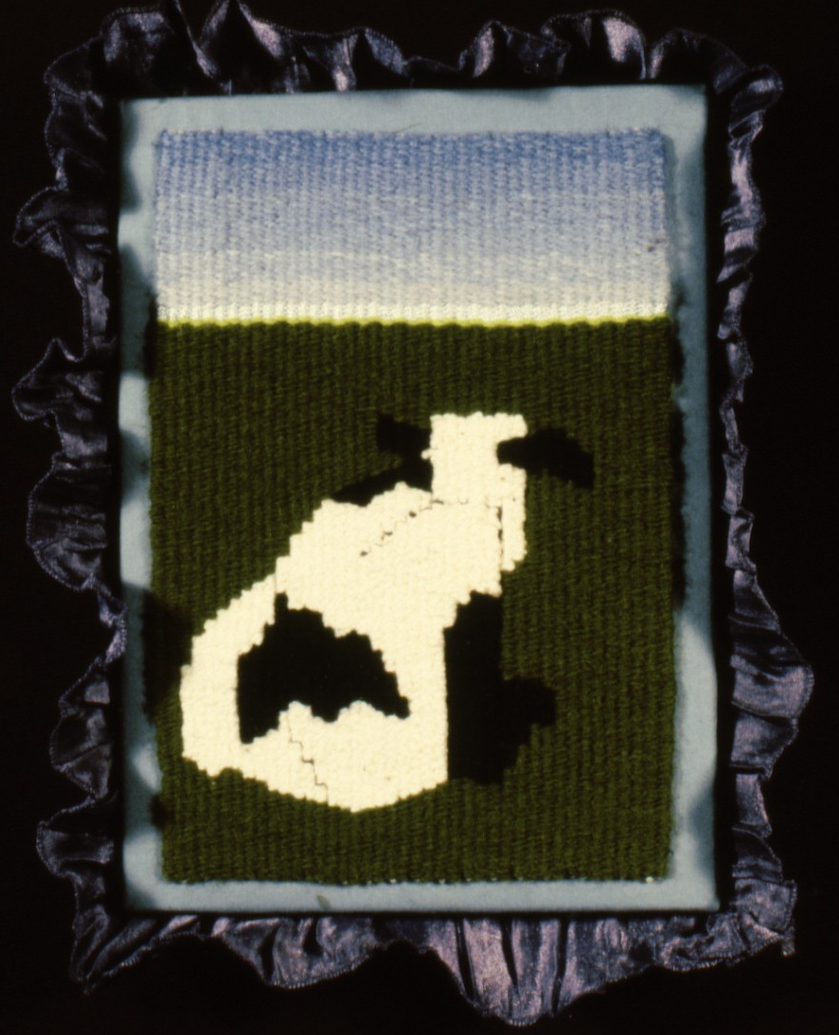
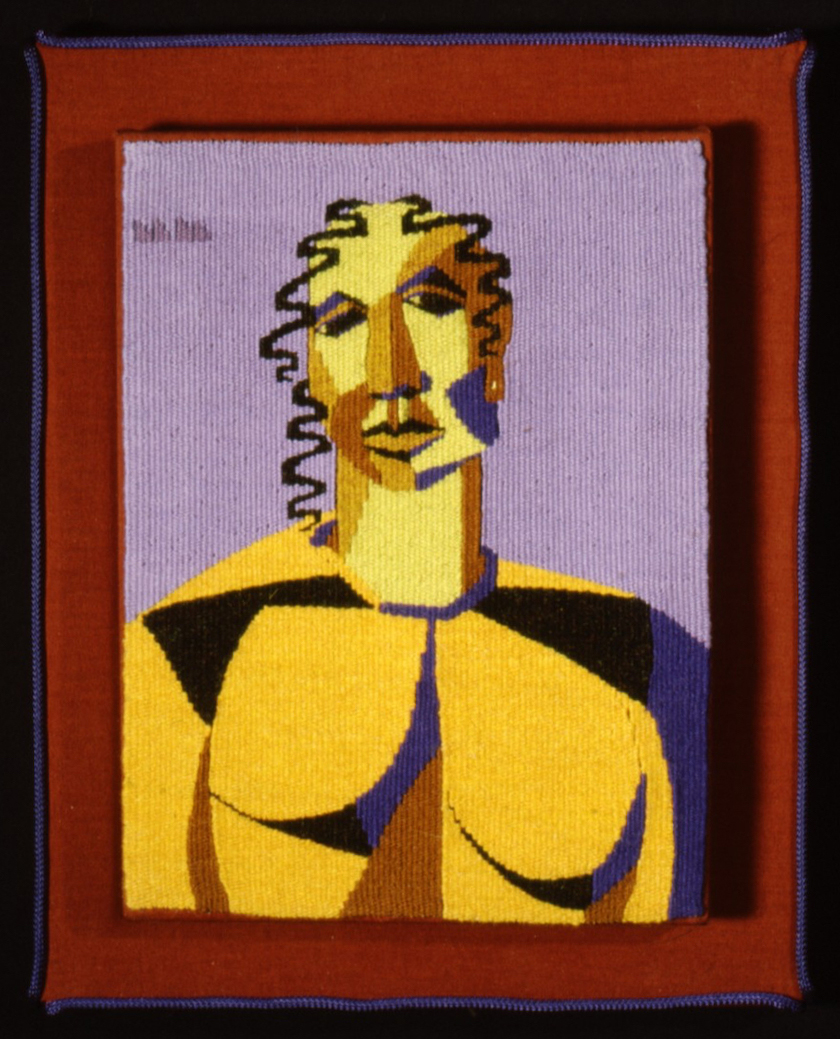
(left) “Lying Cow,” 8″ x 6,” mounted with a ribbon trim. (right) “Head in Colors,” 11.5″ x 8,” mounted with a double mount, cord trim applied to the edge of the outside frame.
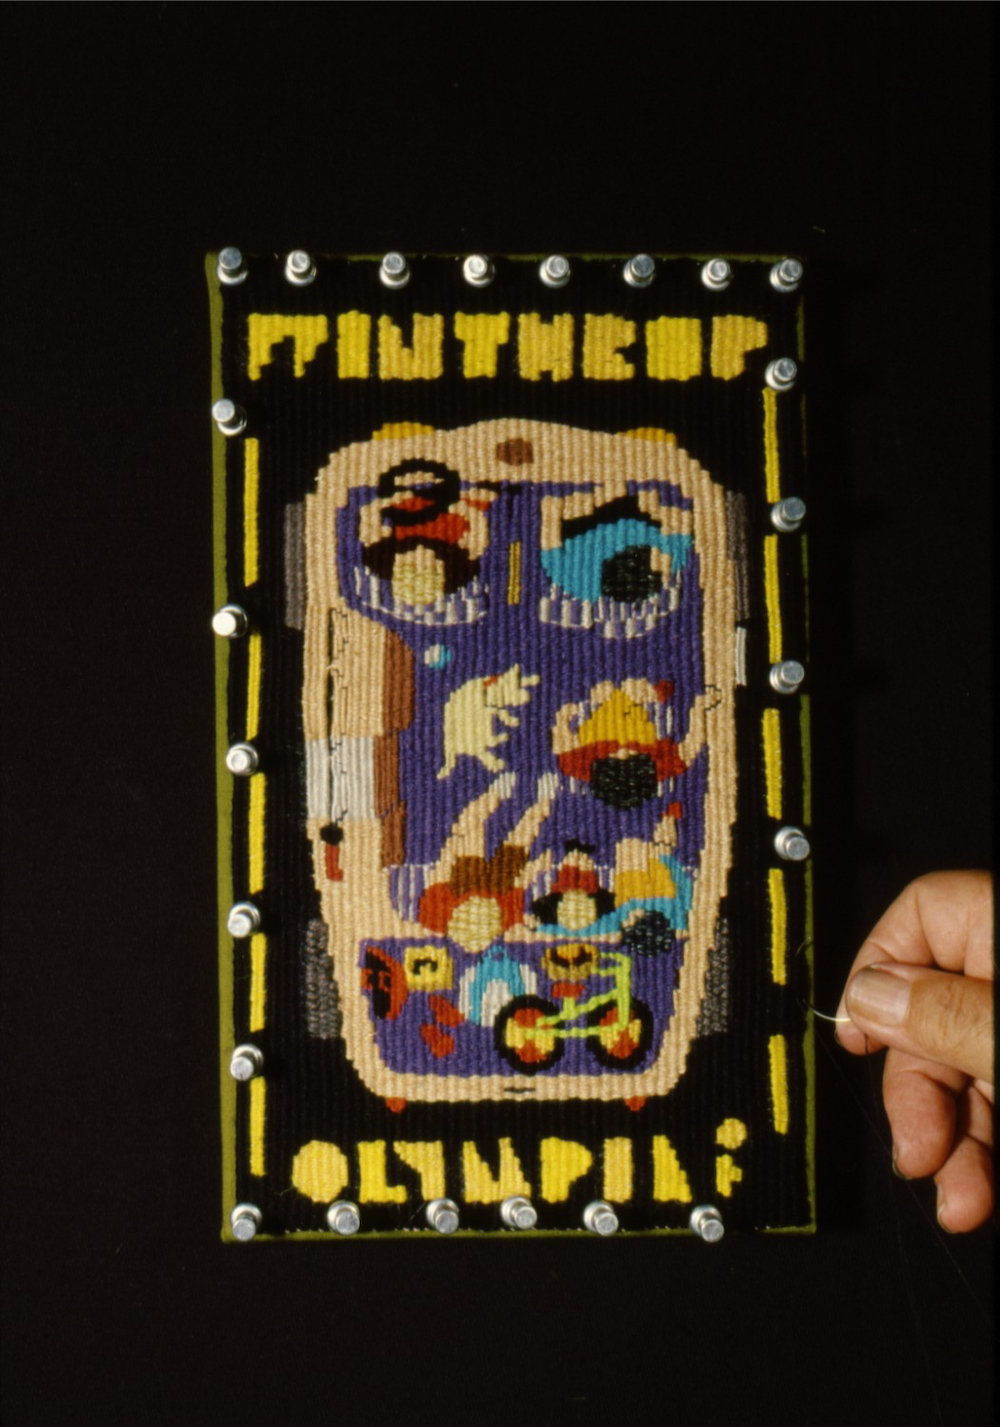
Other solutions include mounting the piece on the front of a sheet of Plexiglas, creating only a shadow as a surround; work sandwiching the work between two sheets of Plexiglas, allowing examination of both sides of the work; or mounting the tapestry in a deep three dimensional box made of wood and up to 10 to 20 times the surface area of the work. Some add thin slats of wood to the sides of the double stretcher mounts. Others add padded cloth, piping or lace trims added to the edge. All of these methods might be successful for a particular tapestry, but might not have worked with another tapestry. In most instances the intent is to present the tapestry as an object, to enhance its cloth character and to allow it to stand on its own as a woven image.
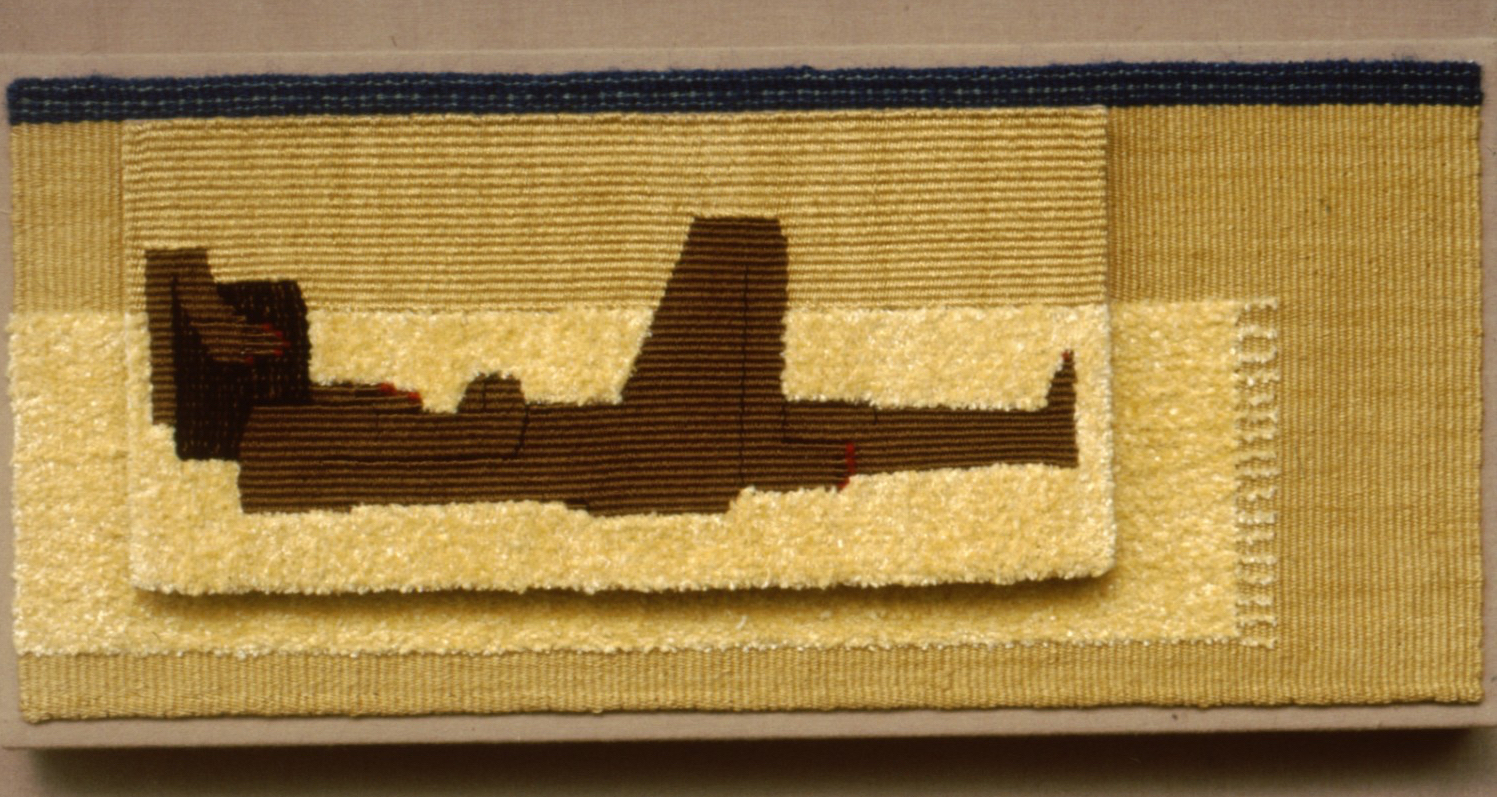
(left) “Sunbathing,” 3.5″ x 8.” (right) “Cafe Rendezvous,” 7″ x 9.” For both of these pieces smaller tapestries have been mounted and then placed on top of a larger, background tapestry.
My own mounting and hanging methods have evolved over a period of years and the search for improvement is ongoing. They are not singular fast solutions because, unlike the history of painting and the picture frame, European tapestry was primarily a mural art form. Small domestic sized tapestries are a 20th and 21st century trend, one that must find its own identity and write its own history.
This article was adapted from an article that originally appeared in a 1997 Tisselise newsletter (Paris, France), subsequently in the TWINE newsletter (New England, USA) and a further elaboration in Handwoven magazine, May/June 1998 with modifications made in March 2020.
Click here to download a printable copy.
Preparing a Double Mount
Click on images to enlarge.