
Controlling the surface of tapestry weaving is a never-ending job. The things that can go wrong are endless. Let’s start at the beginning, with warping. It is important to make sure, in the beginning of a weaving, that you establish a good foundation. That means weaving a header in which the space between each warp is equal and the tension on the warps is the same across the width of the warp. Being diligent in establishing a firm and precisely woven heading helps save time and frustration.
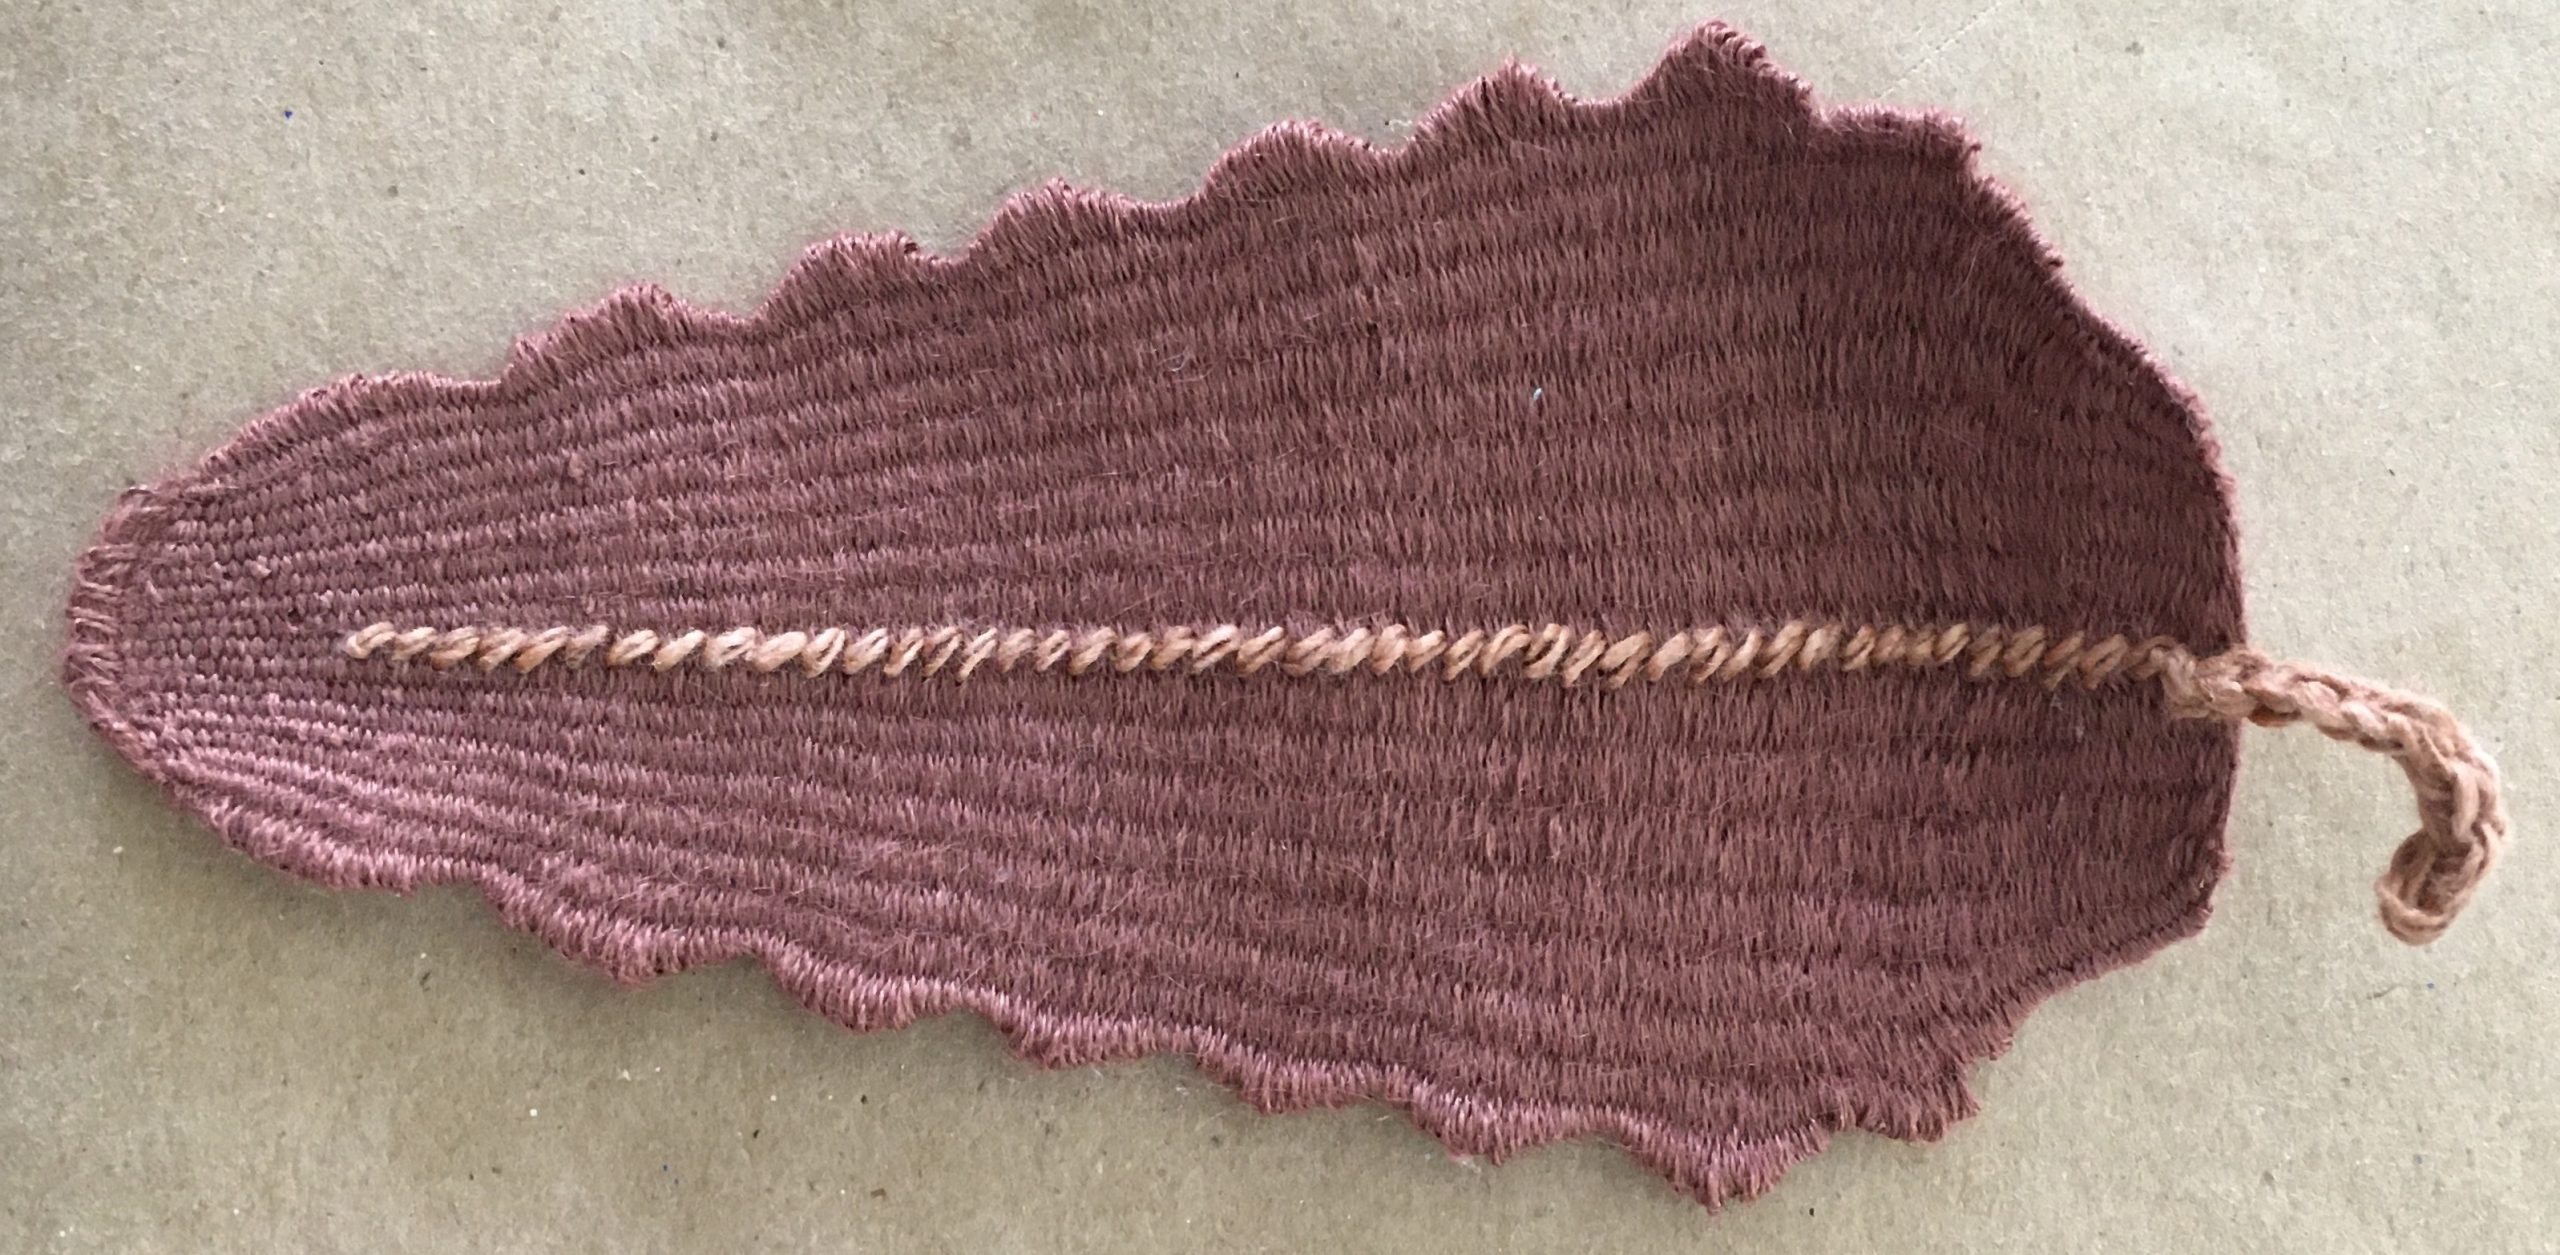
Sample leaf, 5″ x 2.5.” Cotton warp, ramie weft.
When weaving on a high warp loom, with a fixed shed, remember that the tension required for each shed is different. One shed lies open and the other requires that the back threads be brought to the front. The tendency is to not put enough weft in the open shed so that it snakes around the warp. On the pick, or leashes shed, too much weft can, inadvertently be added because, as the leashes are released, the back threads snap into place behind the shed rod and more weft is pulled around the warp. Unless you adjust your weft tension to accommodate for these tendencies, the surface becomes ribbed – one set of warps pushes forward and other set sinks back. If you put your hand into the open shed and trace down to the surface of the weaving you will see if the back threads are lying flatter than the front threads or vice-versa and then adjustments can be made by adjusting the amount of weft added in each shed. I have found that the most common cause of ribbing is due to a fixed shed.
The most effective method for controlling the surface and edges of the weaving is to, first, never weave all the way across the shape on which you are working. Always divide even the smallest shapes into two or more groups of warp, with a maximum of 1 – 1 ½ “ for each group of warps you are weaving. Take only a couple of warps on the turns at the edge of a shape and pull the weft slightly tighter than you do in the middle of the shape. The weft in middle of the shape should always be looser. This will help keep the warps from drifting towards the center of a shape and the overall warp spacing the same. If the selvedges are pulling in, the problem is in the middle of the weaving, not the edges. The easiest way to control the tension is to put in a bubble of weft, hold on to the end of the weft with the hand that is not holding the bobbin and then beat with your bobbin toward that hand while releasing just the amount of weft needed to snake around the warp and cover the weft evenly.
All of the above mentioned corrections are for vertical looms with a fixed shed. If you are weaving on a horizontal loom, or a vertical loom with peddles, it is important to make sure that the peddles are even when at rest (one shed is not pulled forward of the other) and that they are in this neutral position when you beat the weft. Weavers who work on low warp looms usually lock the bubble on both ends of the weft pass and then beat from the trailing edge of the weft back to the already woven section.
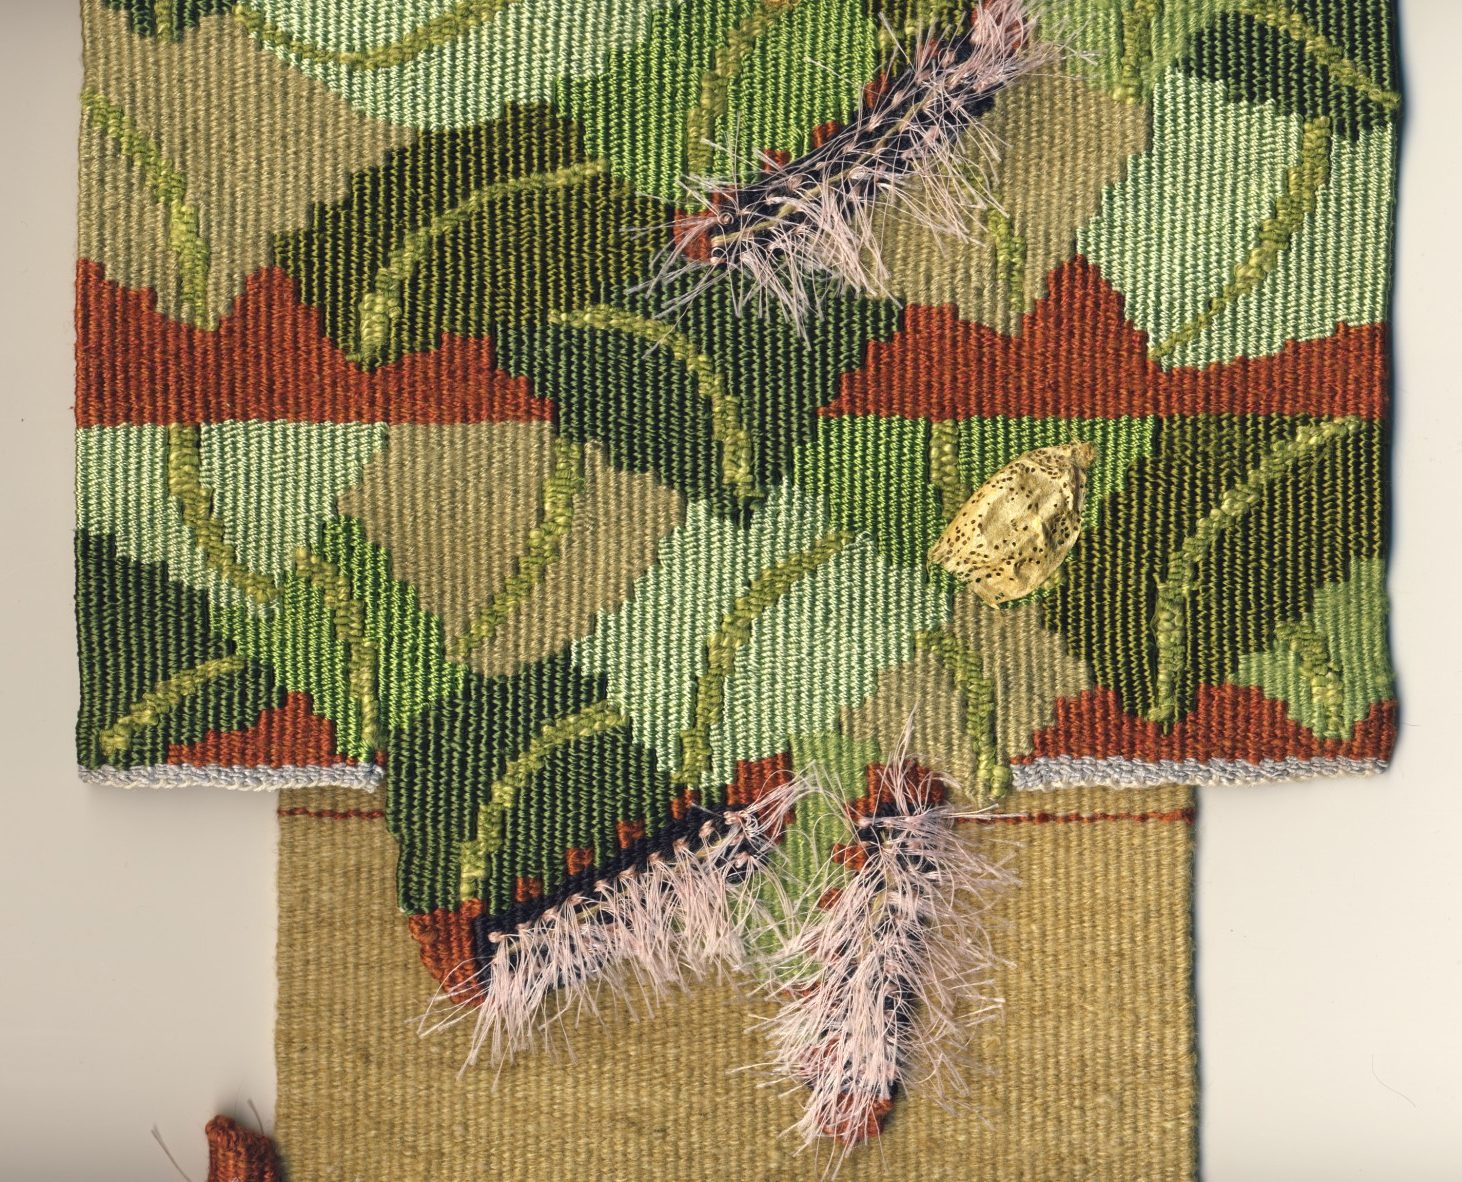
“Golden Silk Worm,” detail. Cotton warp, silk weft.
An additional factor that affects the surface of the weaving is the fact that you are weaving into the spaces between the warps and that you cannot fit a weft bigger than that space without causing the warps to spread. If your weft is very thin in relationship to the size and spacing of the warp, it can be hard to keep from pulling in unless you allow enough weft to easily snake around the warp and pass, without pulling, to the next warp. If you find that some of your warps have moved closer and some have moved further apart, then you must move them back into correct position by weaving more weft into the tight areas (looser tension) and less weft into the looser spaces (tighter tension). It is important to correct this as soon as you can. Irregular warp spacing results in weft packing more densely in the looser warps and less densely in the tighter warps. This results in an uneven height across the weaving and can cause an undulating surface. Some people strum the warp with the bobbin in the opposite direction that the weft is traveling in order to push more weft into areas that are lying too tight in the shed. Keeping a vigilant eye on the warp spacing allows you to compensate early – before the problem becomes so severe that you will have to unweave in order to correct it.
Happy weaving!!!